About · Label Apeel Tips & Tricks: Videos to Make Your Labels Unforgettable
Label Apeel Tips & Tricks: Mastering the Art of Embossed Labels
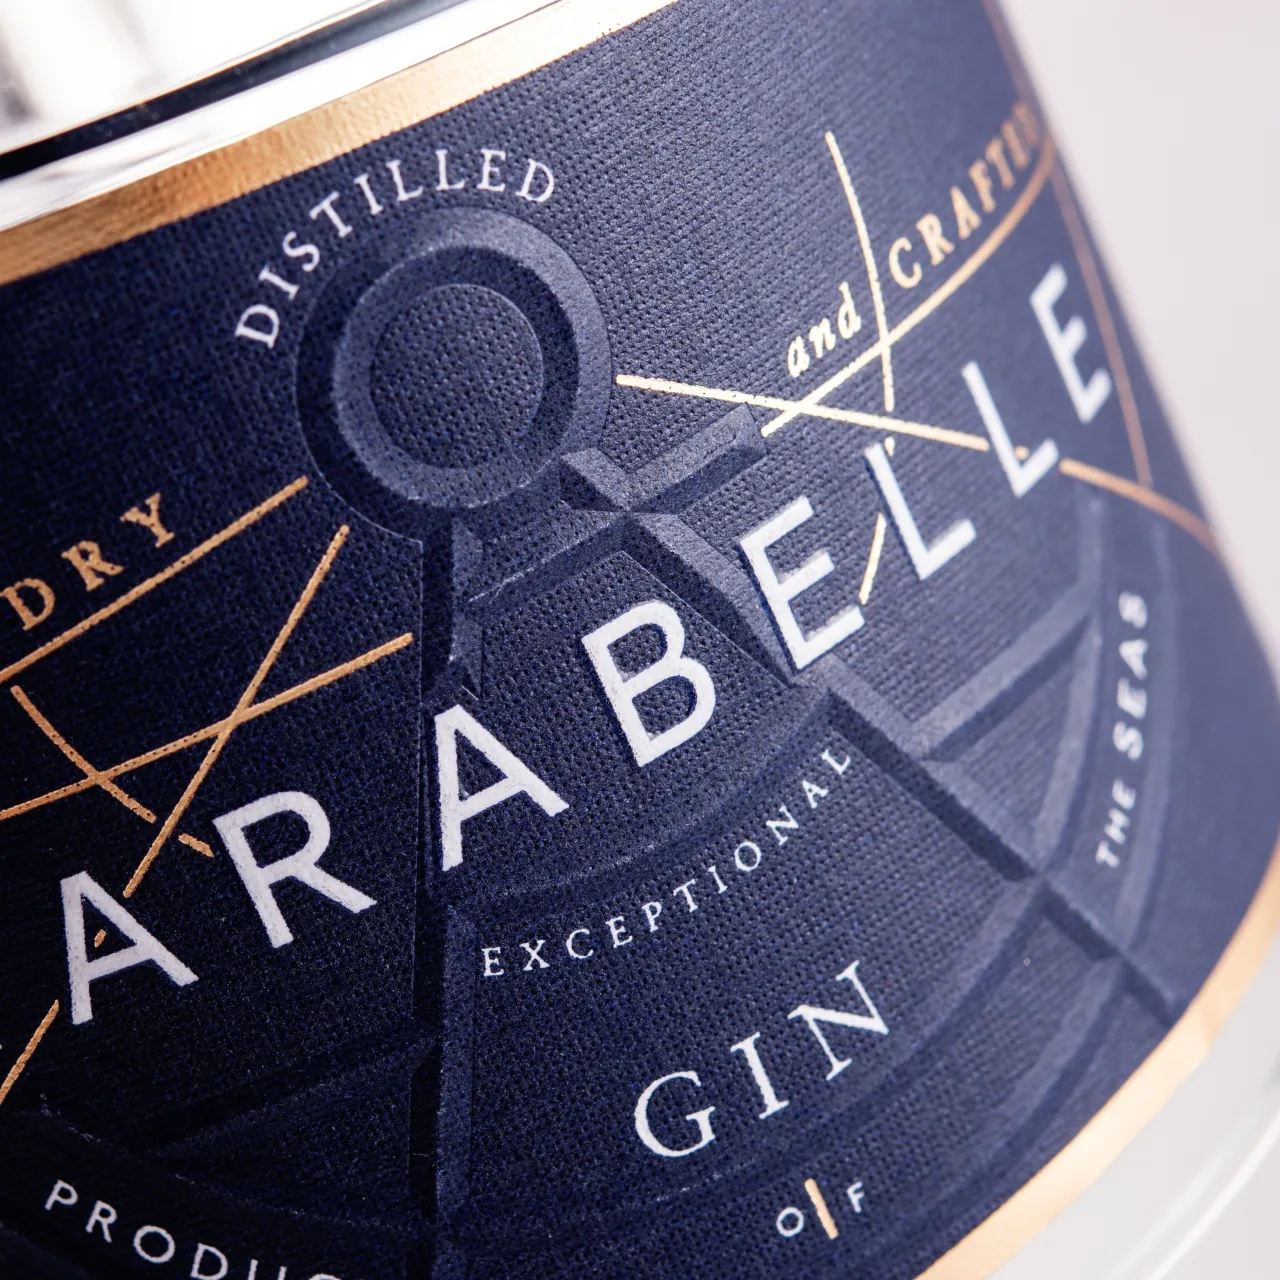
Embossed labels are more than just design elements—they’re tactile experiences that captivate customers and elevate your brand. In this Tips & Tricks video, Label Apeel shares expert insights into the art of embossing, showing you how to create raised designs that add texture, sophistication, and a premium feel to your packaging. Perfect for designers and brand owners alike, this guide will inspire you to craft labels that stand out visually and leave a lasting impression.
Manuscript
Welcome to Label Apeel Ltd, the home of world-class decorative labels. Today, we’re diving into embossing — a finishing technique that transforms labels by adding depth, texture, and a premium feel.
Embossing raises areas of a label to create a three-dimensional effect, adding both a visual and tactile element. It’s the perfect way to highlight key features like logos or design elements.
To achieve the perfect emboss we need a die with the shape of the emboss, and a counterforce which is a negative image of the same shape. The material passes between the counterforce and the die and by pressing the two together we break the fibres of the paper and create the shape we require. Lets take a look at that on press.
On this occasion we are going to do the emboss without any print. The tool is loaded in to the press and the pressure set, and fine tuned, to get the very best in quality.
As you can see there is no colour been used but by using light and shade, we are able to create movement in the design
There are different styles of embossing and debossing. Here we can see representations of the main styles.
The most simple of these is the single level emboss. This has square sides and is probably the most common used. It is most striking when you feel it, rubbing your fingers across, they hit up against those prominent ridges.
Next we have the rounded emboss, a softer and more curvaceous design element it also works well when light is reflecting off of it as the light plays well off of the changing angles.
The multi-level emboss is mainly used when we are trying to create an illusion of hierarchy in the different elements. In this case we have got more height on the logo and a little less height on the text.
Now my personal favourite the faceted or rooftop emboss. Its name tells you everything you need to know. The way the light bounces off of the two opposite sides is just amazing and the perception of height is visually mesmerising.
The bevelled emboss uses light and shade in the same way but also gives you that strong flat surface.
Now the de-bosses. The single level deboss is a square sided excavation of the material, this is great in the hand but gives a little less visually.
While the bevelled deboss, uses the light to give us all the visual clues and invites us to feel the material.
When it comes to the design, embossing can be use in a number of different ways. Either in a stand-alone kind of way or by combining different styles.
Here we see the embossing used to further lift the foiled area on both the logo and the brand name. Here the designer has used a rounded or pillow emboss.
Here is a wonderful example of combining effects. The brand has been beautifully highlighted using a rounded or pillow emboss while the background has added interest using a deboss, creating this wonderful moody backdrop
Let's explore how to maximize the impact of your embossing:
First, consider embossing as a powerful visual tool that also offers a delightful tactile experience. Studies show that a pleasant touch can boost retail sales by up to 30%! By creating visually striking embossed elements, you'll entice customers to pick up your product. Once in their hands, the tactile sensation will leave a lasting impression they can't resist.
To achieve stunning results, opt for thicker paper stocks. These allow for greater embossing heights, adding more dimension to your design. The air within the paper fibres can be compressed when we press the die and counterforce together.
When designing your emboss, think about the overall effect. For the most dramatic results, consider separating bold areas and fine details onto different dies. This approach allows each element to shine at its optimal height, ensuring both delicate intricacies and bold statements are perfectly executed.
Here's a pro tip: if your bottling process allows, consider using a plastic liner. As we push the limits of height possible for the emboss there is a chance of paper tear. Plastic liners add integrity and allow us to push further and get more height. Always consult with your bottler to ensure this aligns with their capabilities.
By keeping these factors in mind, you're setting yourself up for embossing success. Remember, every design choice is an opportunity to make your product stand out and create a memorable brand experience!"
At Label Apeel we love helping our customers create labels that don’t just look amazing but tell a whole story. With embossing and debossing you have a whole other medium to play with and to mould to suit your purposes. If you want to know more then get in touch as we have only scratched the surface in this short overview. Alternatively register your interest in one of our on site training days by visiting our website www.labelapeel.co.uk .
I want to take this opportunity to thank our partners Tomlinson Dies for all their help in putting this short film together.
