Durable Can and Bottle Labels: A 6-Point Checklist to Summer-Proof Your Packaging
Share
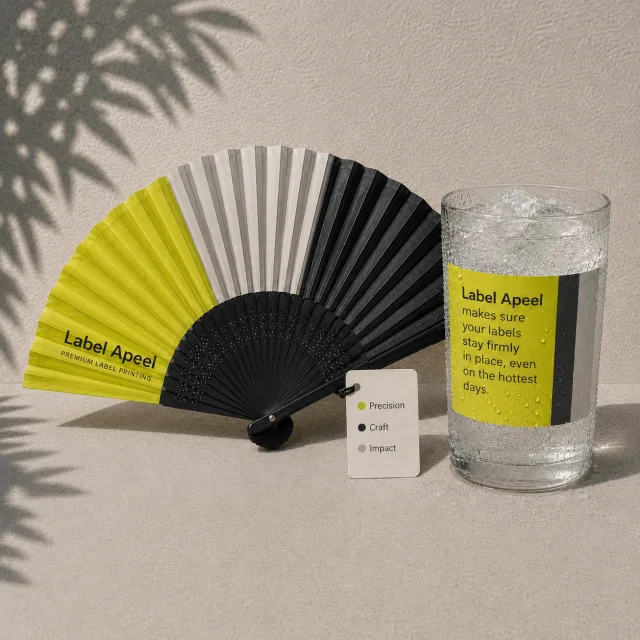
Humidity, ice buckets and heat are a torture test for can and bottle labels. Before your next run, use this quick checklist to make sure your labels stay put and your drinks look sharp all summer.
When cans and bottles move from filling lines into chillers, fridges, ice buckets or outdoor events, the wrong construction can cause labels to curl, wrinkle and slide. Durable can and bottle labels are all about matching face stock, adhesive and finish to those real‑world conditions.
1. Define the environment your cans and bottles must survive
Start by mapping where your cans and bottles actually live.
Will they be stored in fridges, ice buckets, cold rooms, on ambient shelves, at outdoor bars – or across several of these settings? A premium drink in an ice bucket is exposed to constant condensation, while a pack on shelf or at outdoor venues must cope with frequent handling, fluctuating temperatures and long display times.
Clarity on the environment stops you under‑ or over‑specifying the label construction and is the foundation of truly durable can and bottle labels.
2. Choose moisture‑resistant face stocks
Standard paper labels can quickly absorb moisture, leading to swelling, wrinkling and torn edges - especially for cans and bottles in chillers, fridges or ice.
For labels that need to withstand heat, condensation, humidity and outdoor exposure, consider materials such as:
- White and clear PP (BOPP) for excellent moisture resistance on cans, bottles and other chilled products exposed to condensation.
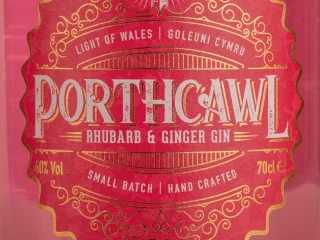
- Moisture-resistant premium papers, paired with the appropriate protective finish, are an excellent choice for wine labels, as well as spirits and other premium beverages that need to withstand chilled storage and ice-bucket conditions without compromising shelf appeal.
These materials resist water ingress and hold their shape when exposed to condensation, ice melt and repeated handling, keeping your brand elements crisp and legible.
3. Match adhesives to temperature and surface
A great face stock still fails if the adhesive isn’t designed for the way your cans and bottles are stored and served.
Drinks often face rapid temperature changes and heavy condensation, whether they’re in aluminium cans or glass bottles. To achieve durable can and bottle labels that genuinely stay in place:
- Use permanent or freezer‑grade adhesives for cold, wet or variable temperatures
- Consider high‑tack formulations when labelling textured glass or low‑surface‑energy can coatings
- Choose adhesives engineered to maintain grip under condensation and high humidity
This reduces the risk of labels sliding, lifting at the edges or popping off completely as products move from filling to storage, then into chillers, ice buckets or outdoor venues.
Related
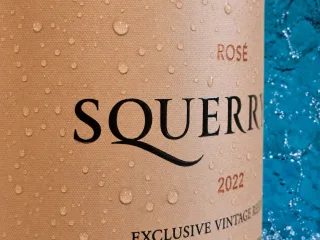
Label of the Month-April 2026: Premium Wine Label Printing for Squerryes Rosé Magnum
High-end wine labels increasingly rely on finish layering rather than heavy design to signal quality. The Squerryes Rosé Magnum exemplifies this shift - combining hot foil precision, tactile screen printing, and ultra matt varnish to create premium…
4. Plan for condensation and application conditions
Even the best construction can struggle if the surface is wet, dusty or too cold at the point of application.
To get durable can and bottle labels that perform in summer:
- Make sure cans and bottles are clean, dry and within the recommended application temperature range
- Avoid labelling immediately after chilling or hot filling, when condensation is most likely
- Use firm, even pressure during application so the label makes full contact with the container
- Allow enough dwell time before products go into refrigeration or ice
These steps help the adhesive wet out properly, build bond strength and resist edge lift when condensation inevitably appears.
5. Protect print with the right finish
Heat, UV and constant handling can fade colours and scuff key information on can and bottle labels.
Finishes are a crucial part of creating durable can and bottle labels that look good throughout a campaign:
- Clear laminates add a robust protective layer against moisture, abrasion and handling
- Targeted UV varnishes defend inks from sunlight and wear while preserving tactile effects
- Specialist varnishes can improve resistance when packs are wiped down, transported or repacked frequently
The right finish keeps barcodes scannable, regulatory text readable and design details sharp, even after weeks in busy chillers or on bar backs.
6. Test your label construction before full production
The final step in specifying durable can and bottle labels is a simple, practical torture test.
Before committing to a full run:
- Apply labels to a small batch of real cans and bottles.
- Run them through the environments they’ll see: fridges, cold rooms, ice buckets, warm shelves, outdoor service.
- After 24–48 hours, check for edge lift, sliding, bubbling, print wear or fogging.
Catching potential issues at this stage is far better than discovering peeling labels in a live promotion or on a retailer’s shelf.
Request a Quote
Tell us a little about your label requirements and our team will prepare a tailored quote. If we need any extra information, we’ll be in touch before sending it over.
Ready to summer‑proof your next label run?
Any label that can’t stay flat and secure in chilled service or on hot, wet days is telling you one thing: the current build isn’t fit for its environment. Share what you’re seeing with your labels - where they fail and how they’re used. From there, we can advise on the best combination of face stock, adhesive and finish to protect your design and specify truly durable can and bottle labels that perform all summer long.
Contact Us
Need advice on your next label project, a technical challenge, or simply want to explore what's possible? Get in touch with our team and we’ll help you find the right solution for your product, budget and timescales.